|
Always look at the care labels to find recommendations for the washer cycle, whether an item can go in the dryer, and what temperature is best. |
2. Sort Clothes Don’t skip this step! Separate white and light-colored clothes from darks, and delicates from durable items. |
Inspect each item, close zippers, check pockets, turn items inside out and pretreat any stains. |
|
Choose a detergent with powerful stain-fighters and MEASURE! Add the recommended amount to the washer’s drum or dispenser. Or toss in a detergent pak (or 2, depending on load size) for pre-measured ease. |
One at a time, balance items around the agitator or across the drum for even distribution. Resist the temptation to overfill the machine. |
6. Select Temperature & Washer Cycle Default to regular cycle and warm water for most loads but check the labels and make a call about killing germs vs. energy usage. |
|
7. Inspect Clothes & Transfer to Dryer Pull items from the washer one at a time, shake out, and put in the dryer unless it must be air or line dried. |
8. Select Dryer Cycle or Air Dry Default to the “Normal” cycle for most items, but low temperatures for delicates. Use a drying rack or towel to air dry items that should lay flat or use a clothesline or hangers to hang dry. |
9. Remove Dry Items, Fold & Hang To prevent wrinkles, remove items from the dryer promptly and fold or hang up right away. |
1. Read Care Labels
Those labels are there for a reason, and you should get in the habit of checking them out. Too many a sweater has been ruined by putting in a machine, or shirts shrunk by washing or drying on too high temperatures.
What are you looking for on a clothing care label?
- Can this item be machine washed or only by hand?
- What water temperature is recommended for this item? It could be cold, cool, warm, or hot.
- Can you use bleach on this item?
- Can this item go in the dryer, or must it be air dried?
- Can this item be ironed or steamed?
If you find an item that cannot be washed in the machine, set it aside. For items than can be machine washed, your next step is to sort them into loads.
2. Sort Laundry Items by Temperature, Color or Soil Level
You’re probably wondering, “do I really have to sort my laundry? It may seem easier to just throw everything that’s dirty into the machine to wash together, but don’t make this a habit. Sorting is a critical part of doing laundry properly and not a step to skip.
But what items should you sort together? Remember these three factors for laundry sorting: color, fabric, and soil level.
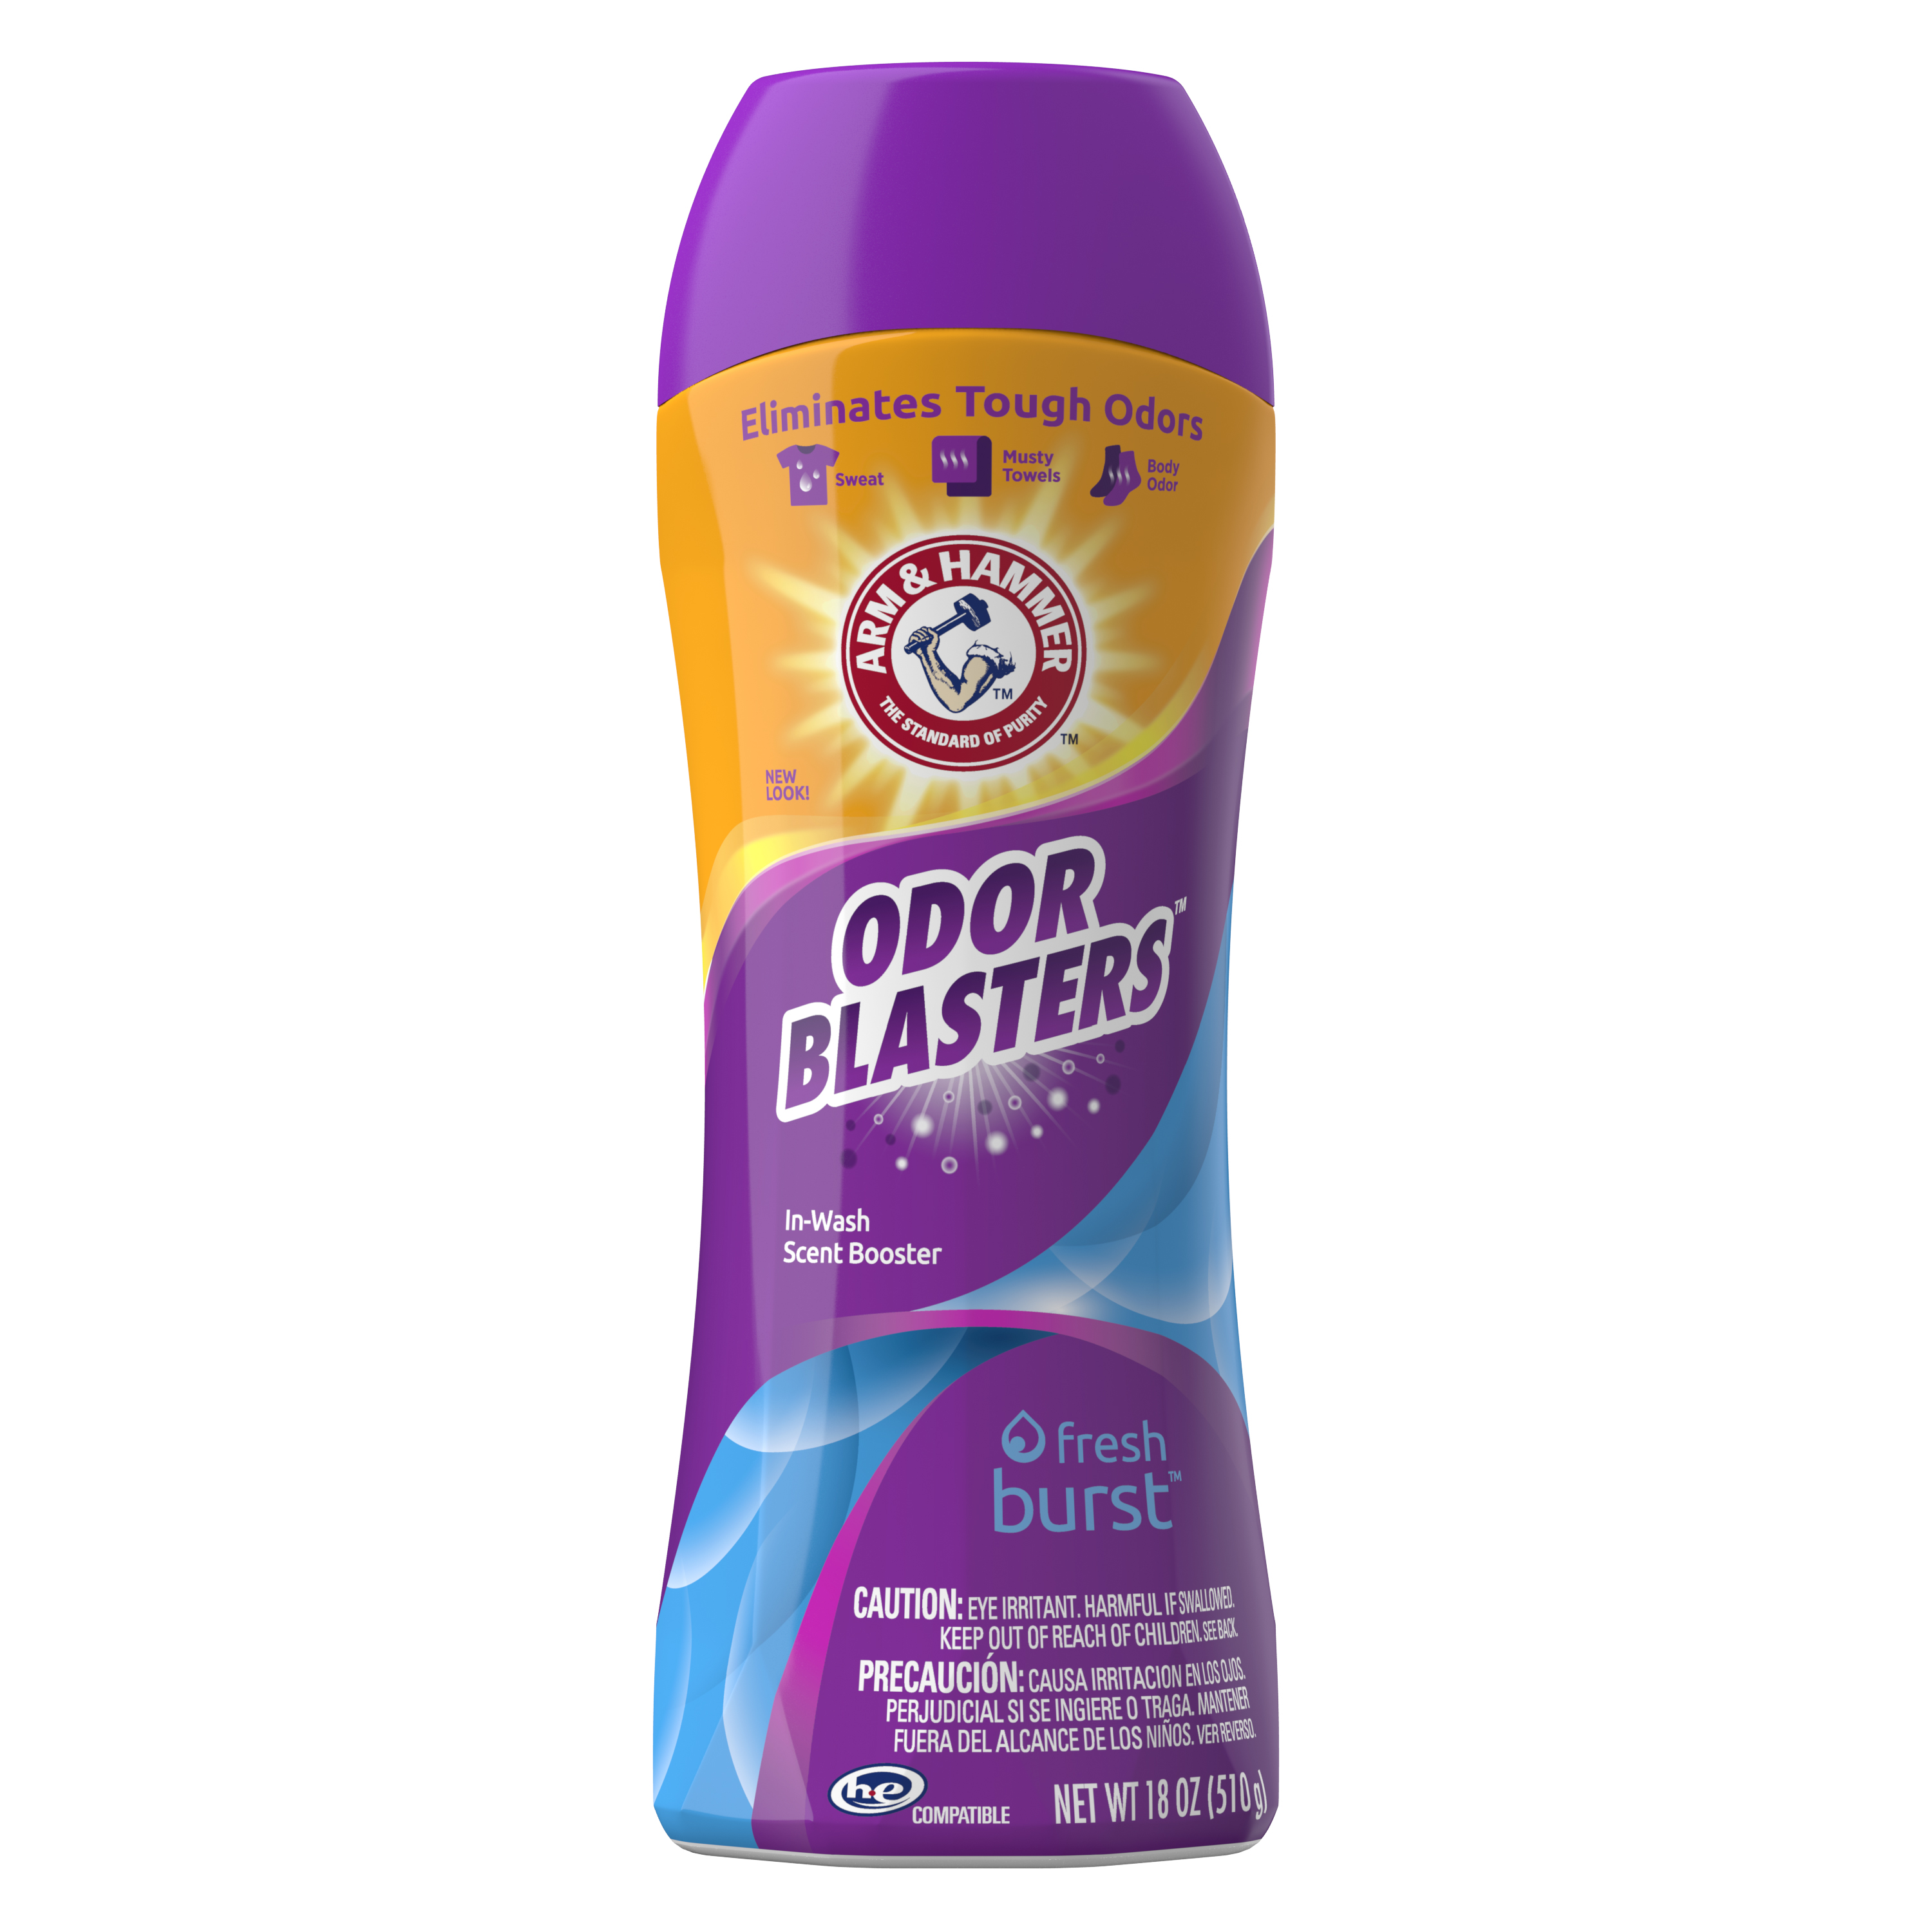
- How dirty or smelly are the items? If you have any really dirty or smelly clothes, such as gym or athletic wear, or the clothes you wore hiking, camping, mud-bogging or working in the yard, sort those for a separate load. Your detergent is going to need to work hard on these items so it’s better to tackle them solo in the washer. Plus, you don’t want to take the chance of transferring dirt onto other items. You’re also probably going to want to use a scent eliminating product, like or which are designed to eliminate stubborn odors like sweat and body odor.
- What color are the items? Yes, you should separate lights and darks to wash. Not just because dark colors can bleed onto lighter ones (ever turned a white shirt pink?) but because the temperature and washer cycle you use for each are different.
- What type of items are they? You don’t want to wash your sheets and towels with your bras and underwear, or fleece items with your dress shirts. Protect delicate fabrics like laces, lingerie, and washable silk by washing them separately. And wash lint-giving fabrics like chenille and terry separately from lint-attracting items such as corduroy and permanent press.
3. Pretreat Stains & Prep Clothes for Washing
If you’ve ever found shredded paper, wrappers, coins, or other items (ever accidentally washed earbuds?) in the bottom of the washer after a cycle, you know the importance of checking the pockets of your clothes before you wash them. Checking pockets is just one thing to do as you prep clothes for going into the washer. Here’s the full list:
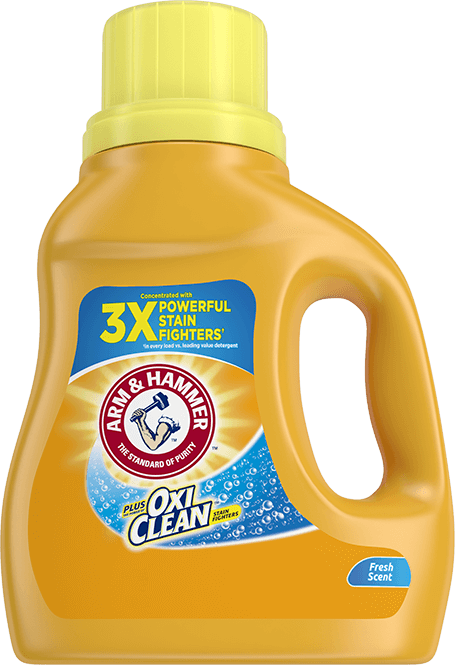
- Visually inspect each item before dropping in the machine. You’re looking for stains. If you spot one, pretreat it by spraying with a laundry stain remover such as , or get a bit of liquid detergent such as ARM & HAMMER™ Plus OxiClean™ Stain Fighters Liquid Detergent in Fresh Scent on your fingers and gently rub it onto the stain before washing.
- Close zippers and Velcro on jeans, jackets, and other clothes. This keeps them from catching on other items.
- Make sure any pockets are empty. Don’t forget that center pocket on hoodies, and front and back pockets of pants and jeans. Anyone lucky enough to have a skirt or dress with pockets – check those too.
- Turn items inside out. Yes, really. This helps prevent items from pilling on the outside, allows detergent to come in contact with the dirtiest parts of the item (like armpits and groins), and protects any decorative items like screen-printing or appliques.
- Put small and delicate items in a mesh laundry bag. If you don’t have a mesh laundry bag, you gotta get one. It’s a key item for doing laundry that will last for years. Shoelaces, bras, athletic supporters, and other small items or ones with straps that can get tangled around other clothes should go in the bag.
4. Add Laundry Detergent
There are three things to remember about adding laundry detergent to the machine:
- Do NOT eyeball this.
- Add detergent before you add clothes to the washer.
- Use HE detergent for HE washers.
Depending on your machine, where you add detergent may change. Front load washers have a pull-out drawer to add detergent, some machines have a “load and go” compartment where you can pour an entire bottle of detergent for automatic dispensing per load, but for most washers (especially those in dorm laundry rooms or laundromats) you put the detergent directly into the washer drum.
Here’s the big tip and the thing that most people mess up: when to add detergent to the washer. Add the detergent to the washer drum BEFORE you add your clothes.
Yes, before. Now that your mind is blown, here’s why: adding liquid detergent on top of your dry clothes means it will absorb into some items and not others, and can create a detergent stain. Adding powder, liquid or packet detergent to the drum first allows for better dispersal throughout the load, which is what you want to get all your clothes clean.
One thing to remember: always, always, always measure your laundry detergent per load. The manufacturer includes a scoop with measuring marks in powdered detergent, and the cap of liquid laundry detergent bottles doubles as a measuring cup. Follow the directions on the package to use the correct amount to get clothes clean and smelling great without waste. If you use laundry paks, measuring is easy since the paks are premeasured. Just add 1 pak for a small load, or 2 for a large load.
- Know the difference between HE and Regular laundry detergent.
- Choose between powder and liquid laundry detergent.
- Do you need a laundry detergent for sensitive skin?
- What are laundry detergent packs?
5. Add Items to the Washing Machine
This may seem simple, but there are some nuances. To load a washing machine properly, do the following:
- Add items one at a time. Instead of shoving an armload of clothes into the washer, add each item one by one. After all, you’re doing step 3 above, right? You can also introduce strange objects into the washer by scooping up clothes from your floor and grabbing a shoe or a cable or other item that you don’t even notice – until it’s too late.
- Balance the load by putting items evenly around a central agitator (if your machine has one) or evenly across the drum if not. Doing this will help the washer operate more efficiently and help distribute water and detergent more evenly across your items.
- Don’t overfill. One of the biggest laundry mistakes is trying to be more efficient (or save money if you have to pay by the load) by stuffing the washer as full as possible. Bad news: this isn’t more efficient and in fact can make your life more difficult. An over-stuffed washer leads to more tangles and wrinkles and clothes not getting as clean. Don’t push clothes down in; clothes need room to move around in the washing machine drum to get clean.
6a. Select Appropriate Washer Setting
While the specific washing machine you’re using can have different names for the different cycles, all washers have the equivalent of a “low,” “medium,” and “high” setting. The difference in the washer settings comes down to how fast the spin cycle is, the number of rinse cycles, and how strong the machine agitates the items.
|
1. Normal or Regular For much of your laundry, the “regular” or “normal” cycle will suffice and is your typical default for loads. This is where you’ll wash t-shirts, jeans, sheets, towels, and, if your washer does not have a “heavy duty” cycle, heavily soiled items. |
2. Permanent Press/Easy Care Setting Synthetic fabrics like nylon, spandex, and polyester or synthetic blends typically do better in the “permanent press cycle.” A slower spin cycle helps prevent wrinkles but gets water out of thinner fabrics. Usually this is warm water wash, cool water rinse, unless you override the temperature settings next. |
|
3. Knits/Delicate Setting Athletic wear, sheers, lingerie, knitted items like sweaters, or anything that says “gentle” on the label are best washed on delicate. The washing machine uses low agitation and light spinning to clean the clothes without damaging them. |
4. Heavy Duty Setting Very dirty items like work jumpsuits, thick or large fabrics like comforters, or very dirty or smelly towels may be best on the “heavy duty” cycle, if your machine has one. This setting often also has an extra rinse cycle. |
6b. Choose the Correct Water Temperature
Of all questions about laundry, knowing which water temperature to use is the most common and most confusing. To know which temperature to use for a specific item, read its label. But there are also some general principles when it comes to the best water temperature for laundry.
Here’s the basic rule to remember: wash items in the hottest temperature recommended on the item’s care label to get them the cleanest and help remove germs.
And a few other rules of thumb about water temperature for laundry:
- White items in hot, colors in colder. Cold water helps prevent fading of bright colors.
- When in doubt, wash in cold. If you’re not sure what to wash an item in, go colder, not warmer.
- Delicate items are always cold water wash. And use a mesh laundry bag to keep them safe.
- Clothes last longer when washed in cold or cool water. The lower temperature puts less stress on the fabric fibers.
- Cold water uses less energy per laundry load.
Tip #1: Wash sheets and towels in hot water whenever possible. These items soak up lots of dirt and odors and typically have germs from skin or mildew from humid environments. Hot water helps to eliminate germs and get dirt out of the fibers.
Tip #2: Hot water is usually better for most stain removal (especially oily ones), but if you have a protein-based stain like blood, dairy, or egg, use cool/cold water and not hot. Hot water will literally cook a protein stain into the fabric fibers and make it virtually impossible to remove. Read our to know which temperature to use for which types of stains.
7. Transfer Clothes to Drying Stage
When the washer cycle is finished, be sure to get the clothes out of the machine within two hours to prevent wrinkles and musty odors. Set a timer or reminder on your phone so you don’t forget. Some machines will even text you when the cycle is finished so you can come back and transfer your clothes. Don’t ignore the notifications!
Take items out of the washer one by one and give them a small shake as you put them into the dryer to detangle and help reduce wrinkles. If you had any items with stains, check it to make sure the stain is gone. If it’s still there, do not tumble dry the item – this can set the stain in permanently.
Look for any items that were machine washable but should not be tumble dried. If you forget, look at each item’s care label again. Making the mistake of putting items like many sweaters or blended fabrics in the dryer can ruin them by shrinking or even causing them to come apart.
Set aside items for air dry and put all other items into the dryer. Pay attention to the dryer capacity – you don’t want to overfill the dryer or everything won’t dry in a single cycle.
8. Set Dryer Cycle, Lay Out or Hang Air Dry Items
Again, dryers differ in what they call various cycles, but generally most dryers have some pre-sets designed for typical loads of laundry. You can also set a specific amount of drying time manually. Other dryers have auto-sensing technology that will stop the cycle once clothes have reached dryness to save energy.
Typically, there are 4 or 5 dryer settings. Here’s what to choose:
|
Dryer Cycle Name |
What It Means |
What It’s For |
|
Regular/Heavy |
High heat, faster drying |
Good for cottons, denim, sheets, and towels. High temperatures can shrink items, especially if they were also washed in hot water. |
|
Permanent Press |
Medium Heat |
Use for bright colors and synthetic fabrics to prevent fading and melting. Still too hot for delicate items. |
|
Delicate/Gentle |
Low Heat |
Although most delicates do better with lay flat or hang dry, if you do tumble dry, use this low heat setting. |
|
Wrinkle Release |
Usually, 10 minutes of permanent press cycle |
Use this to keep clothes moving and prevent wrinkles or to get wrinkles out if you didn’t get clothes out of the dryer right away. |
|
Air Fluff |
No heat |
Good to dry shoes, soften clothes that have been line dried, or clothes that need a quick refresh. |
If you have items to air dry, lay a towel on a table, desk, or bed, and lay the wet items on top of it. Sweaters and swimsuits should be laid flat to dry – not hung – to prevent them from becoming stretched out or misshapen.
Shirts and items that can be hung to dry can go on laundry clips, hangers, or a drying line. After the items are dry, you can toss them in the dryer on an air fluff (no heat) cycle to help them soften up.
9. Remove Items from Dryer & Fold or Hang
When the cycle stops, check the clothes for dryness. It’s ok if they are still very slightly damp – in fact that helps clothes last longer by not producing as much lint, which is really parts of your clothing fibers breaking away as the item wears. If they’re still quite wet, add time to the dryer and try again. Older dryers and very large loads can take longer to dry.
It’s best to remove clothes from the dryer right away when the cycle stops. Letting them sit in the dryer creates wrinkles. If it’s been more than a few minutes after the dryer stopped, you’ll benefit from a quick wrinkle-release cycle – if your dryer has one and if there isn’t a line of folks behind you waiting to use the dryer.
Put clothes into your laundry bag or hamper and take to your room to fold and hang them. Again, it’s best to do this right away to reduce wrinkles. Plus, if you just dump them on your bed you may run into the problem of knowing which clothes are clean or dirty and have to resort to the sniff test. While you’re in laundry mode, just finish up strong with folding, hanging, and putting away.
How Long Does It Take to Do Laundry
How long laundry takes varies depending on the washer and dryer settings you use and the specific machines but plan ~2.5 hours per load of laundry from start to finish. That’s about 10 minutes for laundry prep, 50-75 minutes in the washer, 40-50 minutes in the dryer, and time to fold and put away.
Do I Need Laundry Booster, Fabric Softener or Bleach?
Now you’ve got the laundry basics. Check out these other articles to learn more about leveling up your skills with laundry boosters, scent-boosters, fabric softeners, and other stain-fighting superpowers.