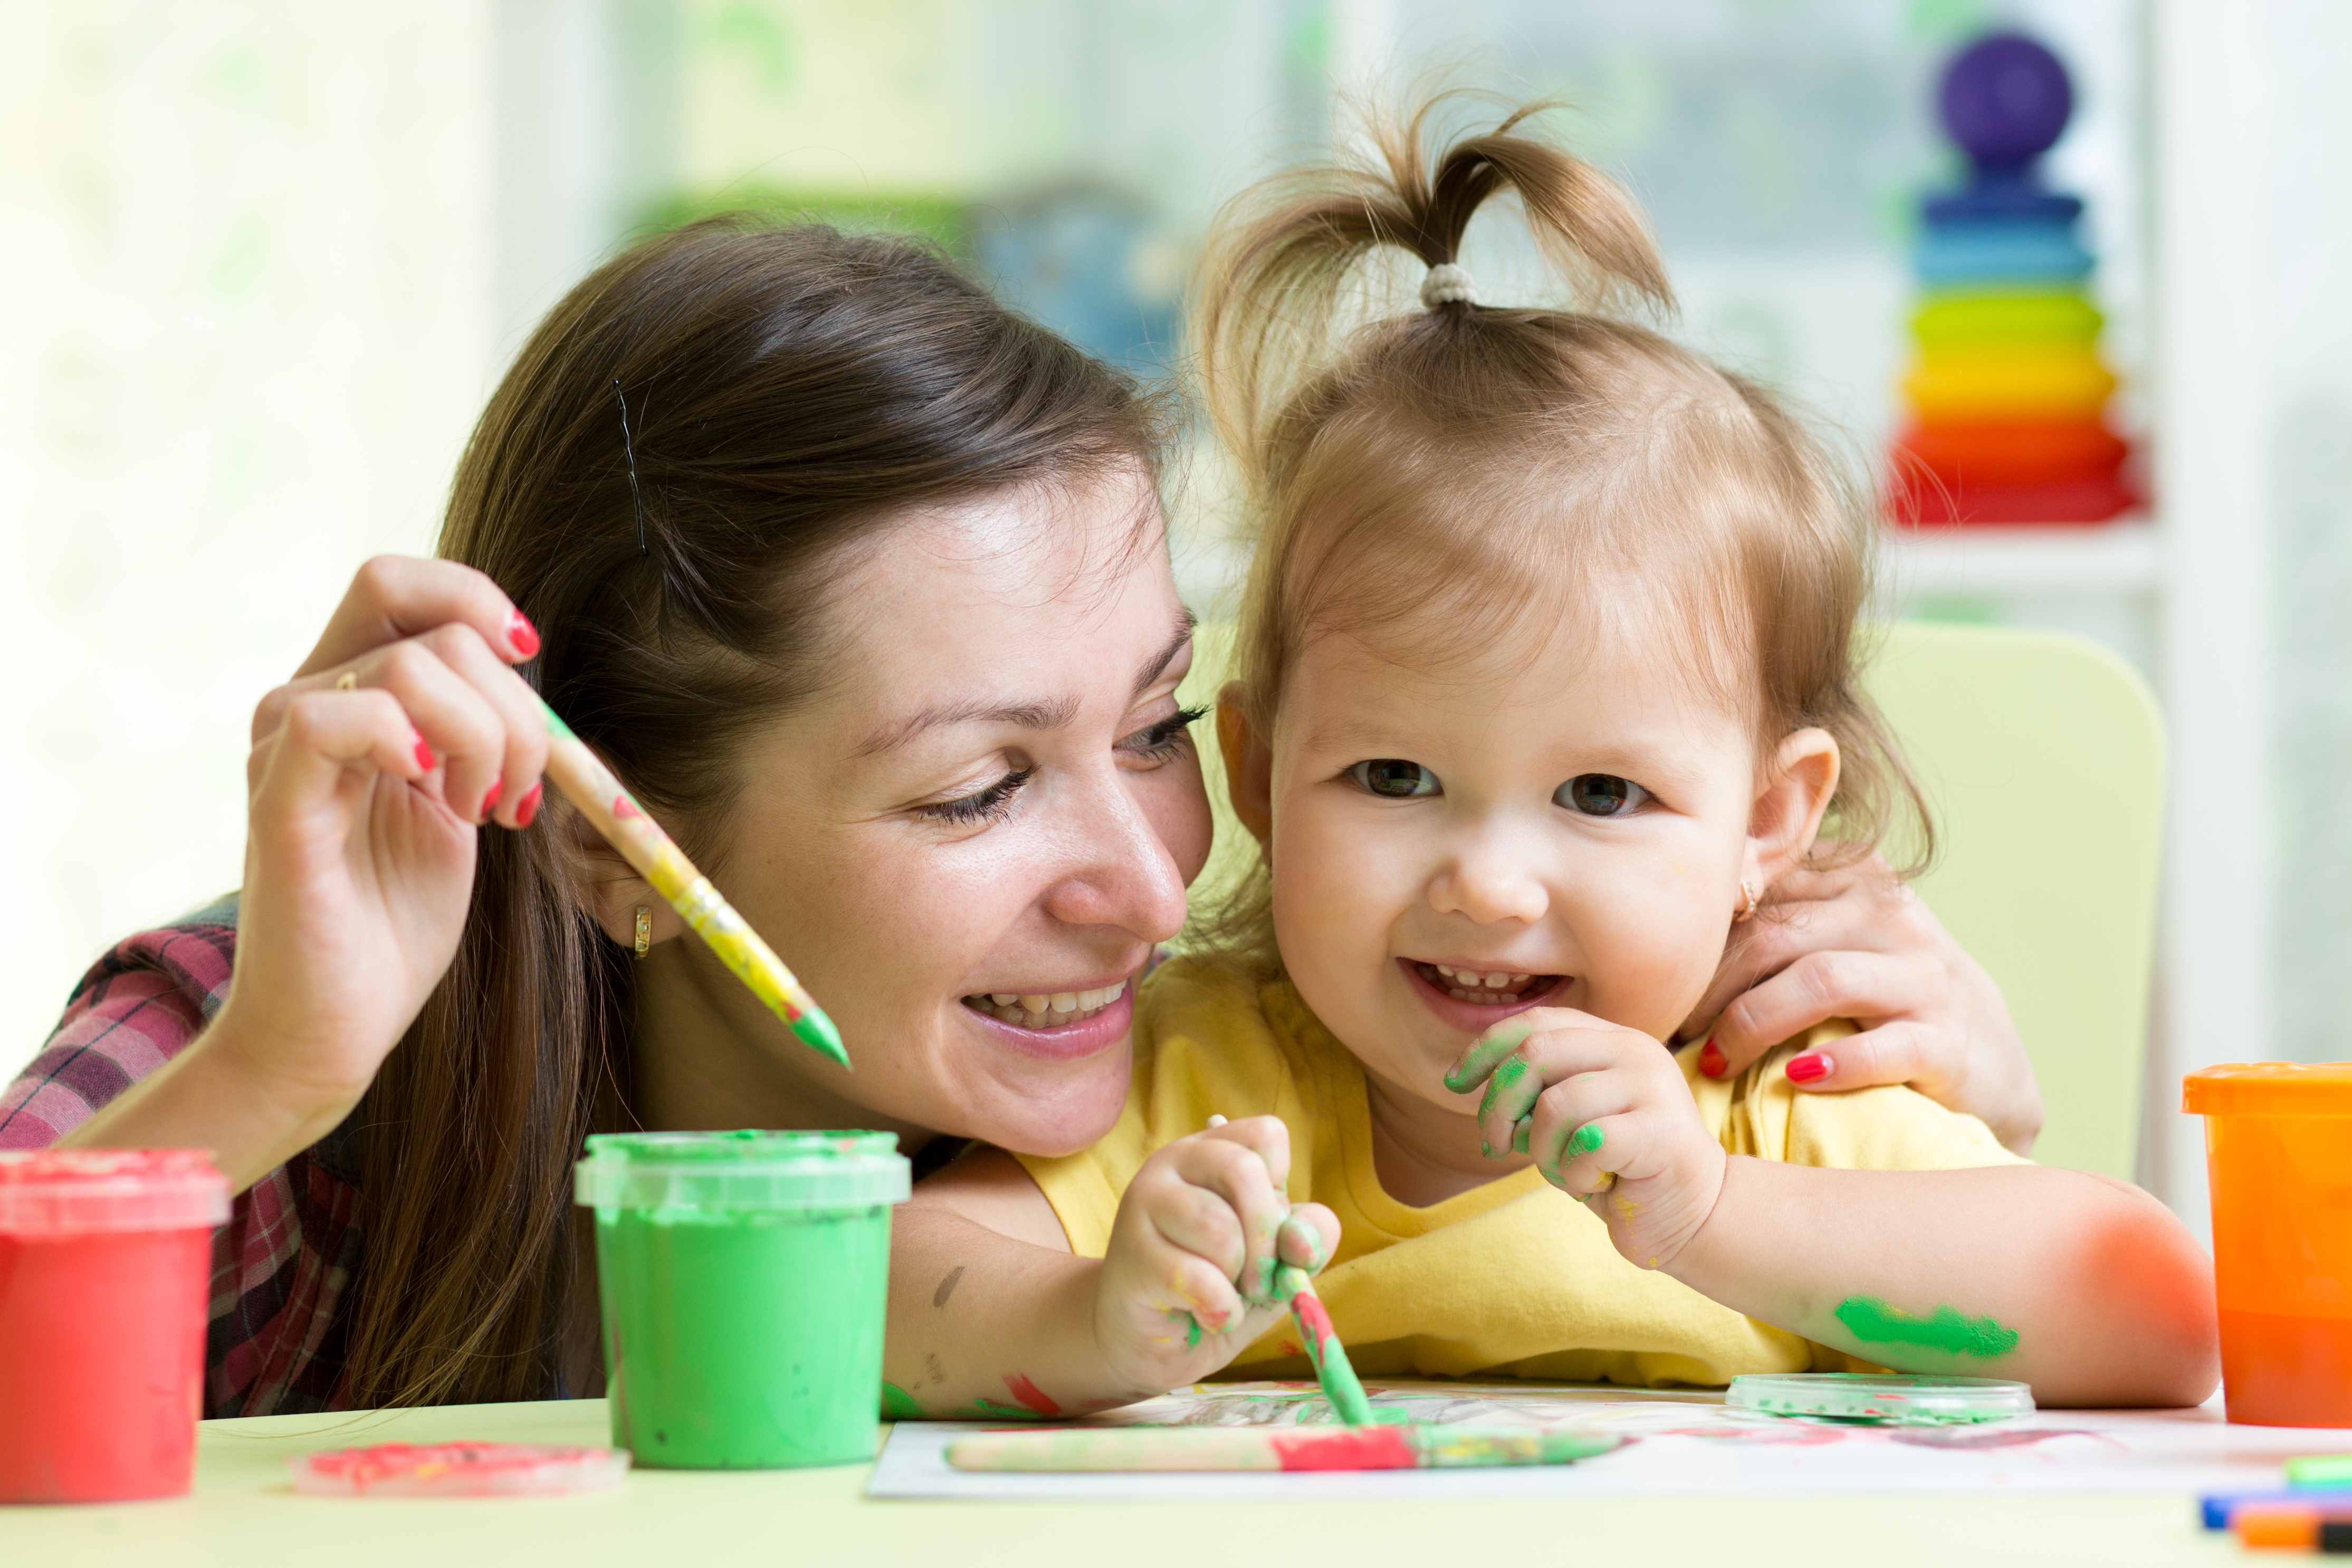
1. Keepsake Coasters Made of Baking Soda Clay
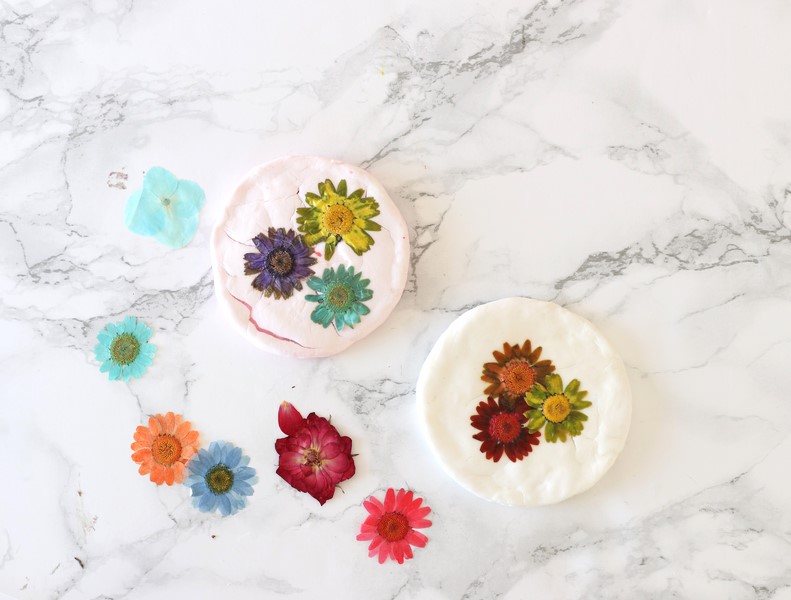
You and the kids can make beautiful, usable keepsake coasters from baking soda and cornstarch clay and decorate them with pressed flowers or leaves from a nature walk or with any image or memorabilia you want. How about making a set of four coasters for a great gift for grandma and grandpa, especially when they are decorated with kids’ art or photos!
Ingredients & Supplies
Yield: 1 3.5”-4” coaster, or more depending on how thick you roll out the baking soda dough
- 1 cup ARM & HAMMER™ Baking Soda
- ½ cup cornstarch
- ¾ cup warm water
- Rolling pin
- Round cookie cutter or cup for cutting your clay circles
- Pressed flowers, ticket stub, small photo or image
- White (PVA) glue, diluted with water
- Foam paintbrush (you can use a bristle brush, but a foam brush makes for a smoother finish)
Directions
- In a microwave-safe bowl or large measuring cup, combine baking soda, cornstarch, and warm water together until the baking soda and cornstarch have dissolved.
- Microwave the baking soda, corn starch and water mixture for about 40 seconds. Remove and stir. Microwave for another 40 seconds and stir. Continue until the dough starts to dry and can be kneaded as a soft, smooth dough. Careful: the bowl and dough may be hot!
- Alternatively, mix ingredients in small pot and place over low heat on the stove. Heat and stir until the ingredients come together in a smooth dough.
- Tilt the baking soda clay out onto a surface that’s been sprinkled with a bit more cornstarch.
- Use a rolling pin to roll out your baking soda play dough to the desired thickness, typically about ¼”.
- Use a cup or a round cookie cutter to cut out circles from your baking soda cornstarch clay. Note: coasters are typically 3.5” to 4” in diameter.
- Place your baking soda dough circles on a cookie sheet lined with parchment paper.
- With help from an adult, bake at 215°F for 1 hour.
- While your coasters are baking, choose what you will put on the top of each coaster to decorate. Arrange flower petals and leaves, cut out shapes, find a photo or draw a picture. Use a circle on a piece of paper the same size as your coaster to plan your layout for each.
- After the baking soda coasters have cooled, add a layer of White (PVA) glue, diluted with water (or make your own sealer by mixing 2 oz white glue with 1 oz of water) over the top of your coaster to create a sticky surface.
- Place your pressed flower(s) or other decoration on top of the glue.
- Gently paint a layer of White (PVA) glue, diluted with water over the entire coaster. Your goal is to seal the decoration under the White (PVA) glue, diluted with water.
- Let sit and air-dry for several hours or overnight. Repeat with another layer of White (PVA) glue, diluted with water if desired for a thicker seal.
Tip: if you want to color the baking soda dough, you can use a few drops of food coloring, or try one of these natural food coloring ingredients to create your own hues.
- Red: beet juice
- Pink: strawberries or raspberries
- Blue: grated red cabbage in water, plus baking soda to change the hue from purple to blue.
- Purple: blueberries, grated purple sweet potato
- Brown: coffee, cocoa, tea
- Green: matcha powder, spinach
- Yellow: turmeric powder
- Orange: grated sweet potato or carrot, paprika
2. Make your own DIY Stress Ball with Baking Soda
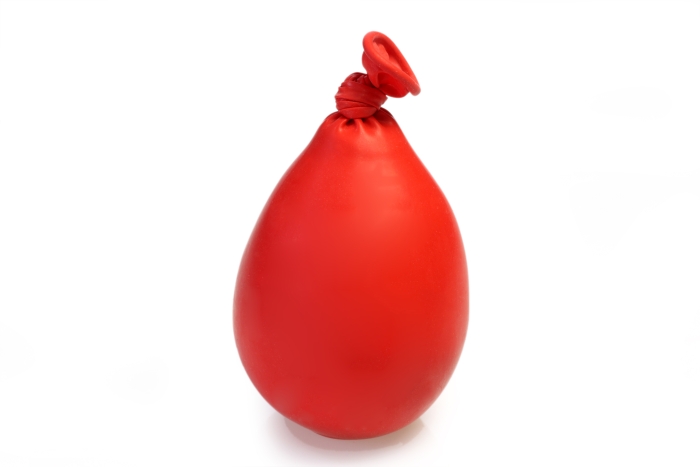
Harness the power of baking soda and a few household ingredients for a quick arts & crafts activity to create a squishy stress ball. Once it’s done, your kiddo can use the stress ball for stimming, stress relief, fidget-busting, and developing grip strength.
Ingredients & Supplies
Yields: 1 stress ball
- Measuring cup
- Balloons
- 2 cups ARM & HAMMER™ Baking Soda
- ½ cup hair conditioner
- Spoon
- Bowl
- Scissors
- Funnel (or make your own from a plastic bottle)
- Dry erase markers
Directions
- Mix 2 cups of Baking Soda with about 1/2 cup of hair conditioner. Add more conditioner to make your stress balls squishier or less to make them firmer.
- Once the ingredients are all mixed together, cut off the top end of a plastic bottle (adult supervision required). You’ll use it as a funnel.
- Attach a balloon to the bottle opening and fill it with your stress ball mixture.
- Once the balloon is full, make sure you don’t have any air bubbles, and then tie it closed. Wipe your balloon clean, and then it’s time to decorate!
3. Create a Masterpiece with Baking Soda Puffy Paint
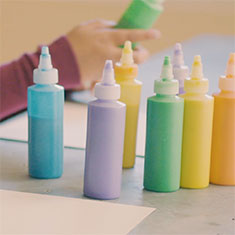
There are many ways to paint and many ways to make paint with baking soda. This recipe makes dimensional paint your kids can squeeze from a bottle to make puffy letters or add texture and a 3D element to their artwork.
This puffy baking soda paint is great for writing on other DIY crafts, such as baking soda ornaments, or combining with other baking soda paint, too! Note: to get the best puffy quality, be sure to use gel food coloring instead of liquid.
Ingredients & Supplies
Yield: About 8 oz of paint, can be divided into small squeezy bottles
- 3 tsp ARM & HAMMER™ Baking Soda
- 1 cup flour
- 1 tsp salt
- 1 ¼ cup water
- Food coloring (gel works best for puffy texture)
- Funnel
- Plastic squeeze bottles for paint
Directions
- Start by mixing flour, salt, and ARM & HAMMER™ Baking Soda together in a bowl.
- Gradually add water to flour mixture and stir. You can use a wooden spoon or hands also work great for some sensory play!
- Add enough water until the mixture has the consistency of pancake batter.
- Divide paint into small plastic squeezy bottles or small ramekins or bowls. Fill plastic bottles to about ¾ full with the baking soda mixture.
- Add a few drops of gel food coloring and shake or stir. Continue to add food coloring until the paint reaches the desired color.
- Paint your masterpiece! If you need more paint, you can mix some more up in minutes to continue the fun!
4. Basic Baking Soda Paint and Fizzy Paint Reaction!
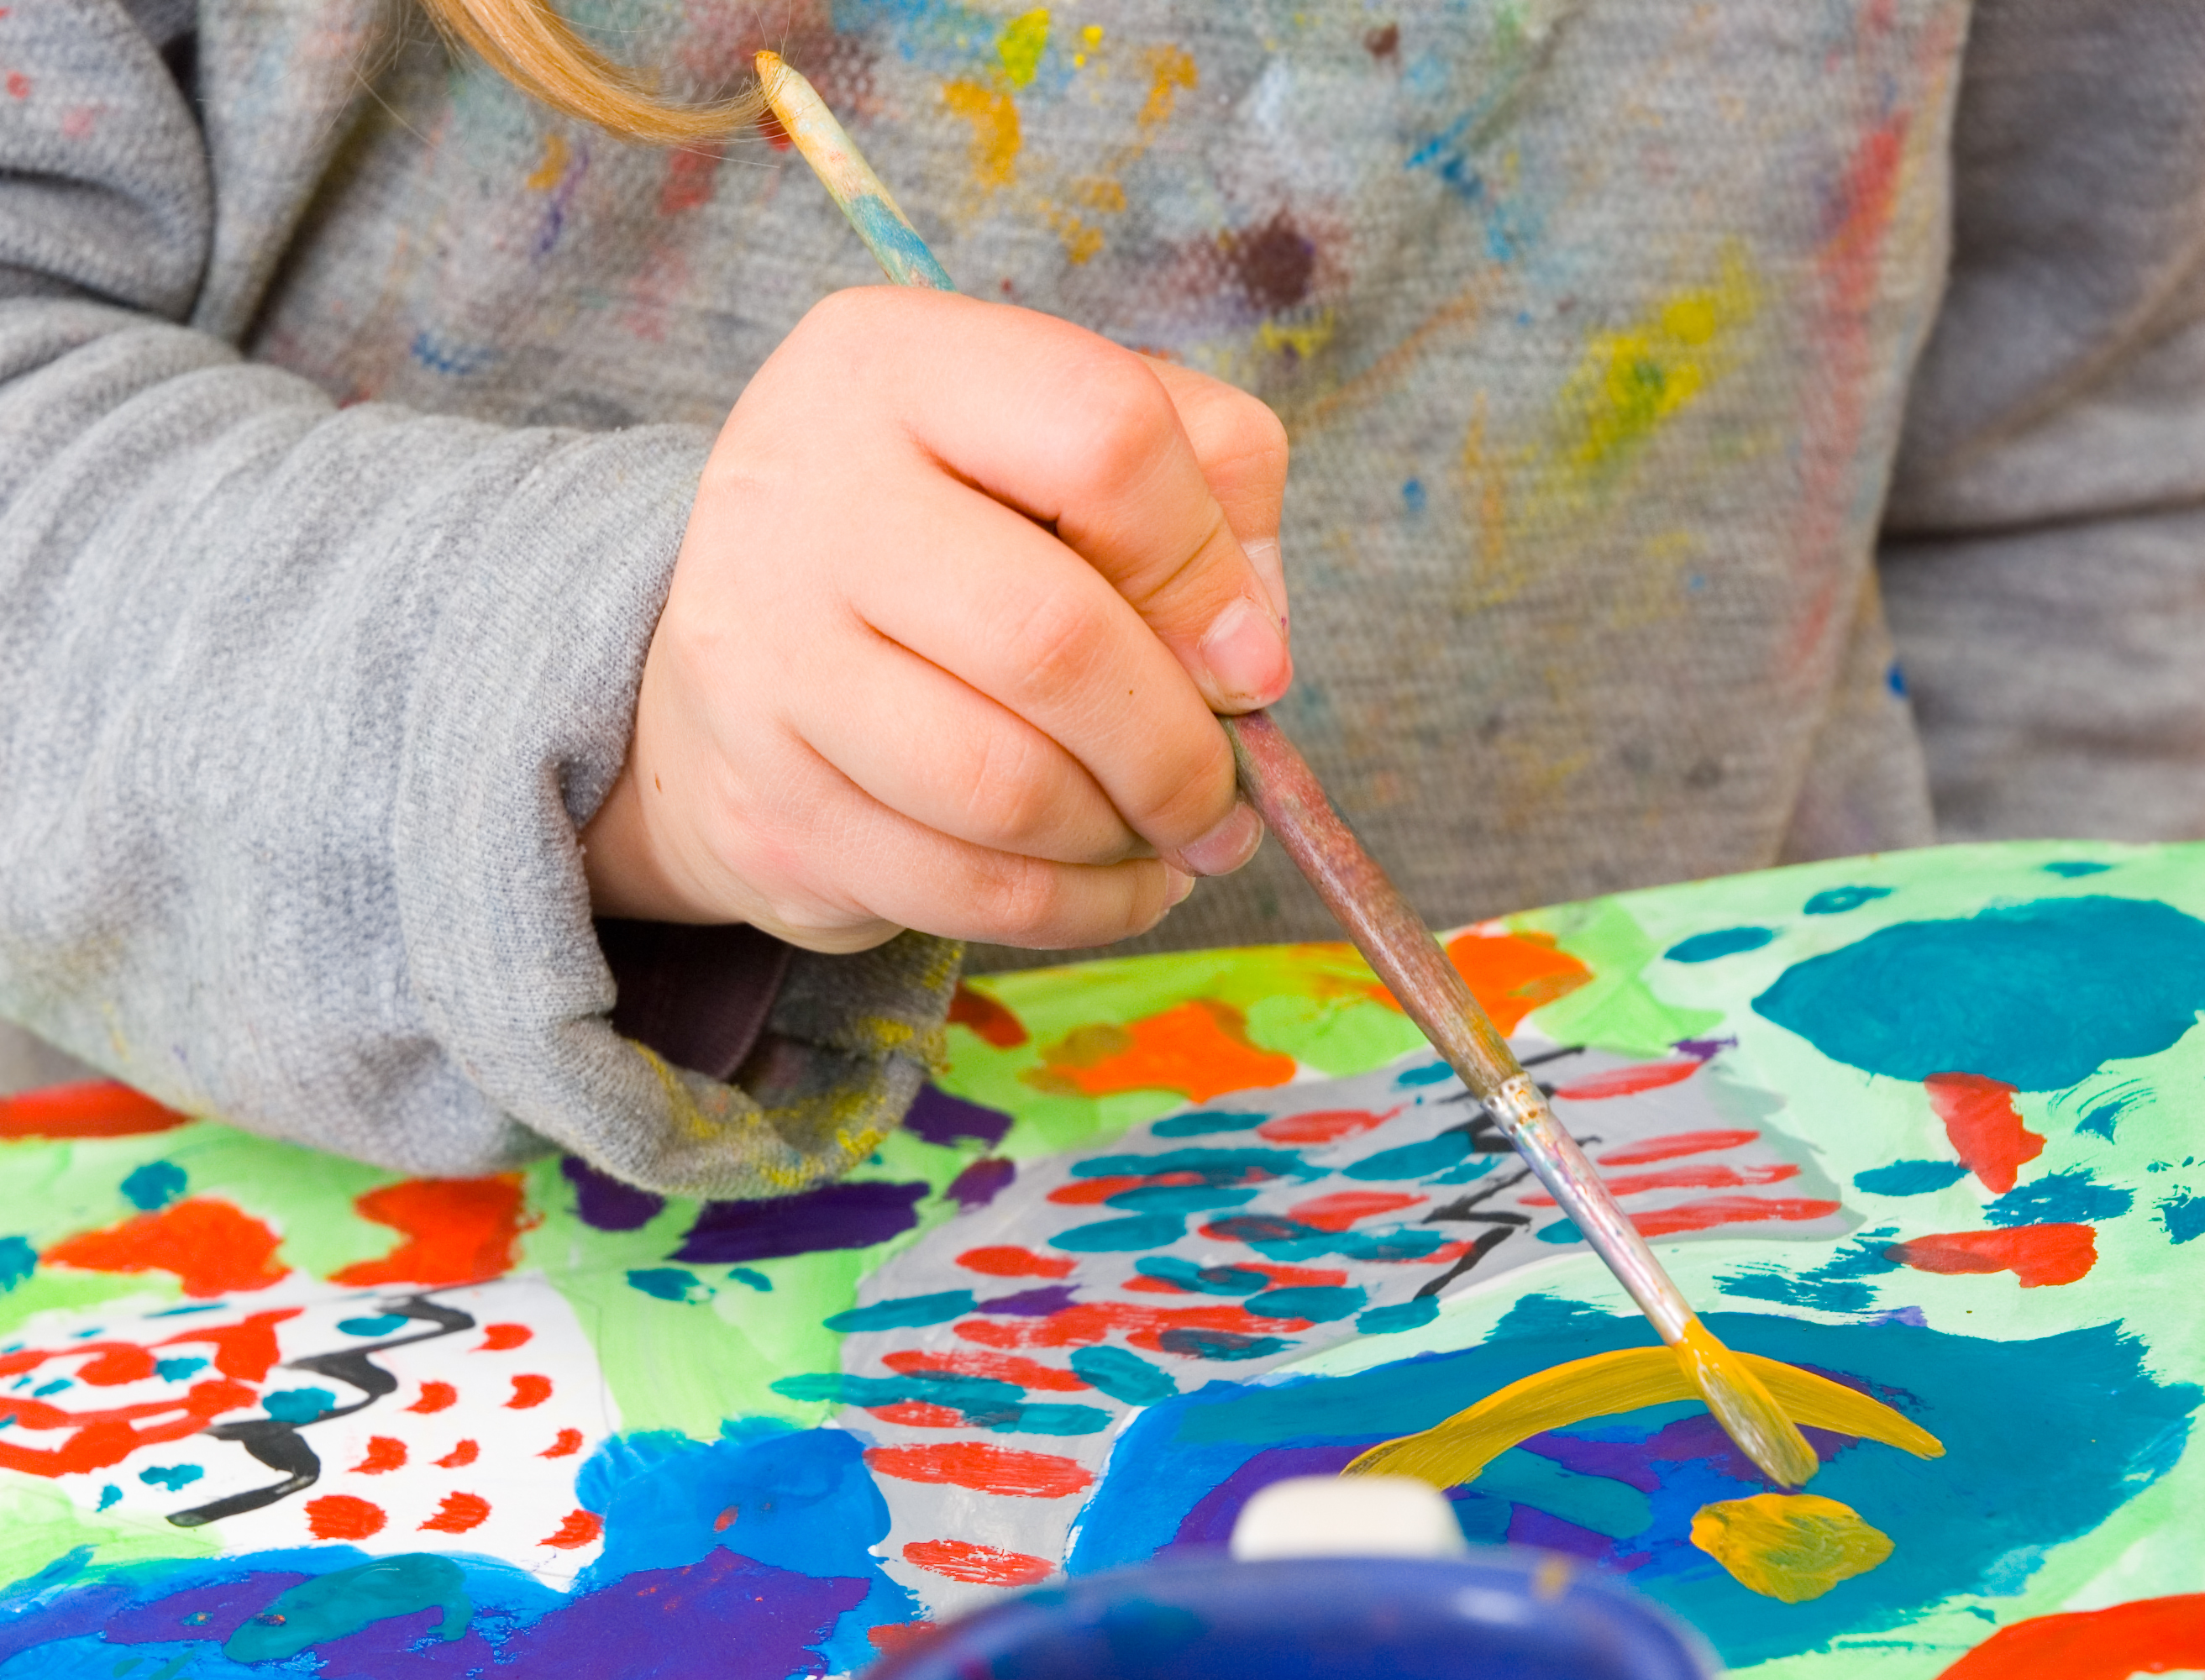
If you’ve got a big family, a group play date, or just a kiddo who loves to create, you’re going to need a lot of paint. Luckily, you can make your own DIY paint from baking soda for just pennies, and your kid can help make it for even more fun.
With baking soda paint, you don’t need to head to the craft store, just head to your kitchen cupboard. Your kids will be painting in no time! Plus, with baking soda paint, your kids can have extra fun making their pictures or leftover paint fizz when they’re finished!
This recipe makes the basic liquid baking soda paint. See below to make your own watercolors for a variation in paint texture and technique.
Ingredients & Supplies
- 1 cup ARM & HAMMER™ Baking Soda
- 1 cup water
- Food coloring (range of colors, liquid, gel, or make your own from natural ingredients)
- Whisk or fork
- Small bowls or containers, 1 for each paint color
- Watercolor paper or card stock paper
- Paint brush(es)
- Optional, for fizzy reaction: white vinegar, spray bottle, dropper/pipette or squeeze bottle
Directions
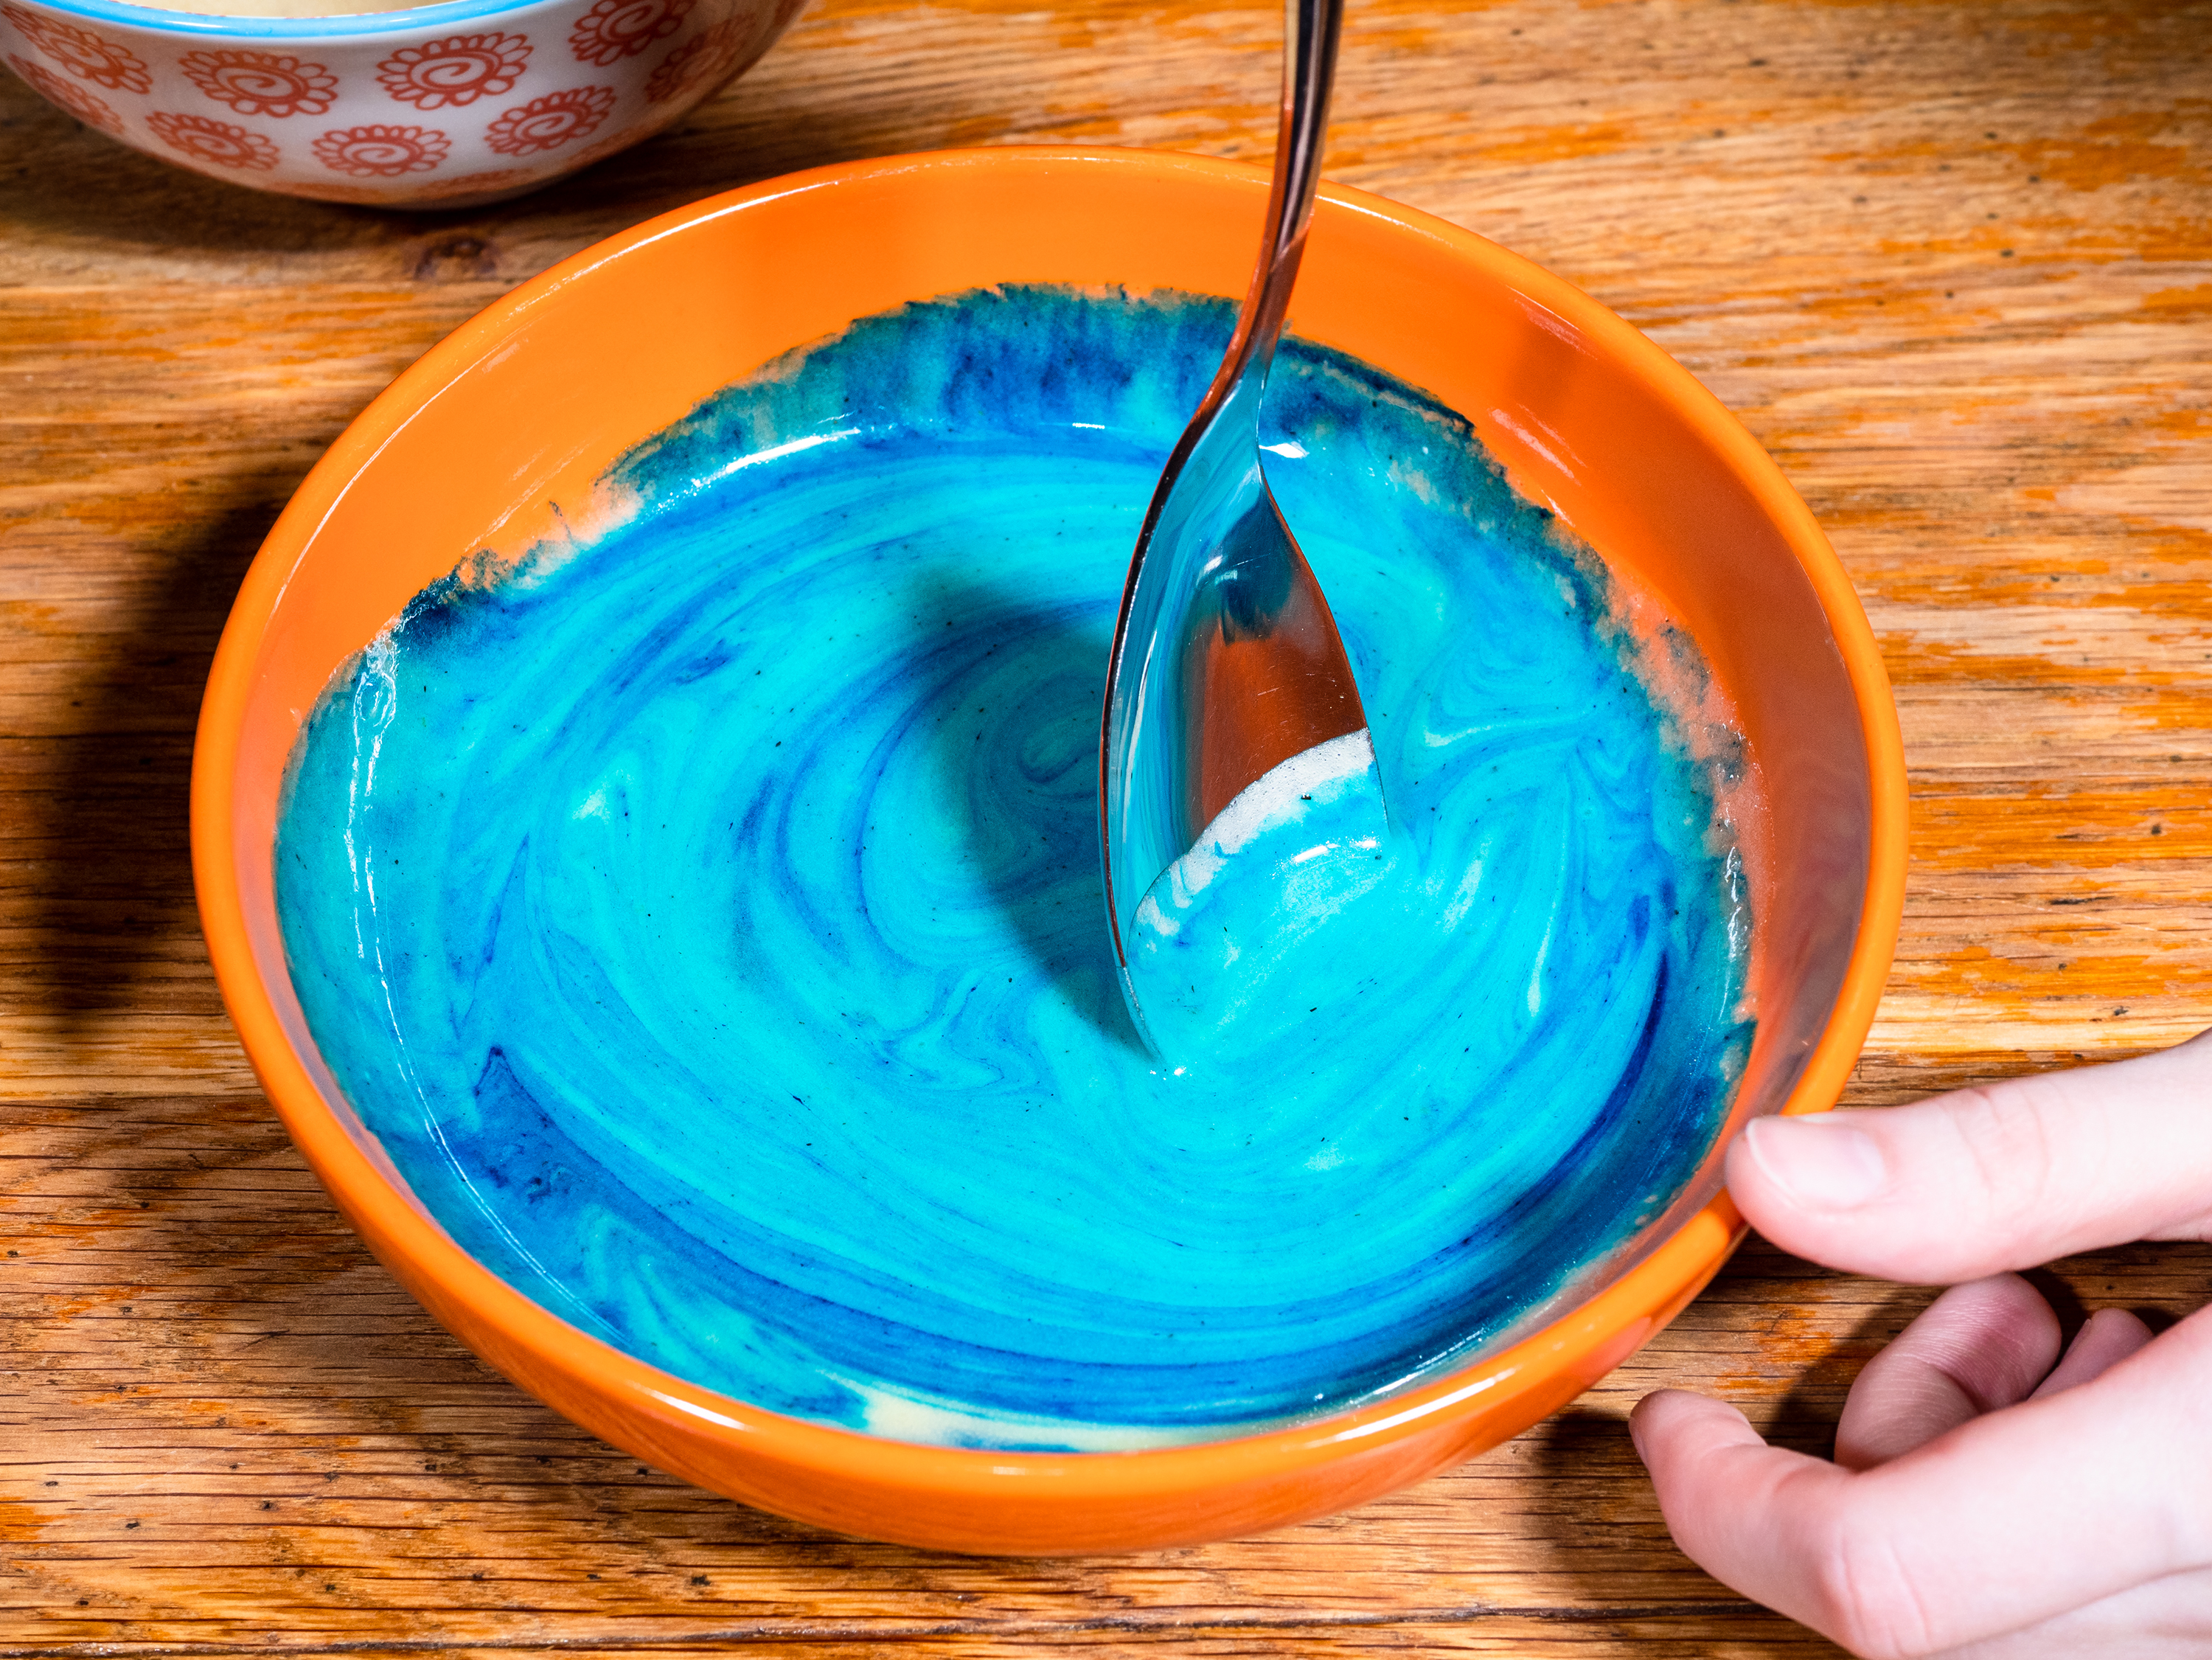
- Whisk together the baking soda and water.
- Pour into 4 small bowls of containers, ¼ cup each.
- Add a few drops of food coloring to each bowl and stir. Repeat until you get the color shade you want!
- Dip your brush in the paint and apply to the watercolor or card stock paper. Continue to stir the paint as you use it, because the baking soda can settle to the bottom.
Optional: Fizzy Paint Reaction Directions
Once the painting is done. Provide a spray bottle containing a 3:1 mixture of white vinegar and water or a small bowl of vinegar and a dropper or pipette. Let your kids dribble or spray the vinegar onto their painting and delight in the fizzing reaction. Note: this will change your child’s painting so be sure they’re ready for it to transform.
Got leftover paint in the bowls? Place the bowl into a larger bowl or container (to capture the mess) and let your kids add vinegar to the paint, a little at a time. Watch for the bubbling over!
Want to talk about the science of the fizzy baking soda and vinegar reaction? Read our Baking Soda STEM Activities guide to learn how to explain what’s happening to your kids!
5. DIY Watercolor Paint with Baking Soda & Corn Syrup
There’s more than one way to make DIY paint with baking soda! This version is thicker and stickier than the basic version above, but it also will harden into watercolors you can paint with later by adding water to your brush. It’s great for kids who lose interest quickly and you’re always dealing with leftover paint you don’t want to waste.
With kids, it’s great to change it up and expose them to new ways to create. Try making these baking soda watercolor paint cubes ahead of time and taking them with you on a road trip or vacation – or just to use another day!
Ingredients & Supplies
Yield: 16 oz of paint, can be divided into 12 watercolor cubes
- 1 cup ARM & HAMMER™ Baking Soda
- 3/4 cup white vinegar
- 2 tablespoons corn syrup
- 1 cup cornstarch
- Mixing bowl
- Food coloring (liquid, gel, or naturally sourced from food ingredients)
- Ice cube tray or egg carton (Styrofoam works best as it won’t absorb the paint)
Directions
- Pour baking soda into the mixing bowl.
- Very slowly pour vinegar into the bowl, a little at a time. Don't add it all at once or it may bubble over.
- Add corn syrup and cornstarch and whisk until well-combined.
- Divide mixture into an ice cube tray or egg carton and add drops of food colorings to create your colors. Stir each paint cube with a toothpick or straw to mix.
- You can use the paint right away as a liquid, or to make watercolor tablets, set the tray aside (out of sight and reach of the kids!) and let them dry for up to 2 days.
6. Baking Soda Chalk Paint
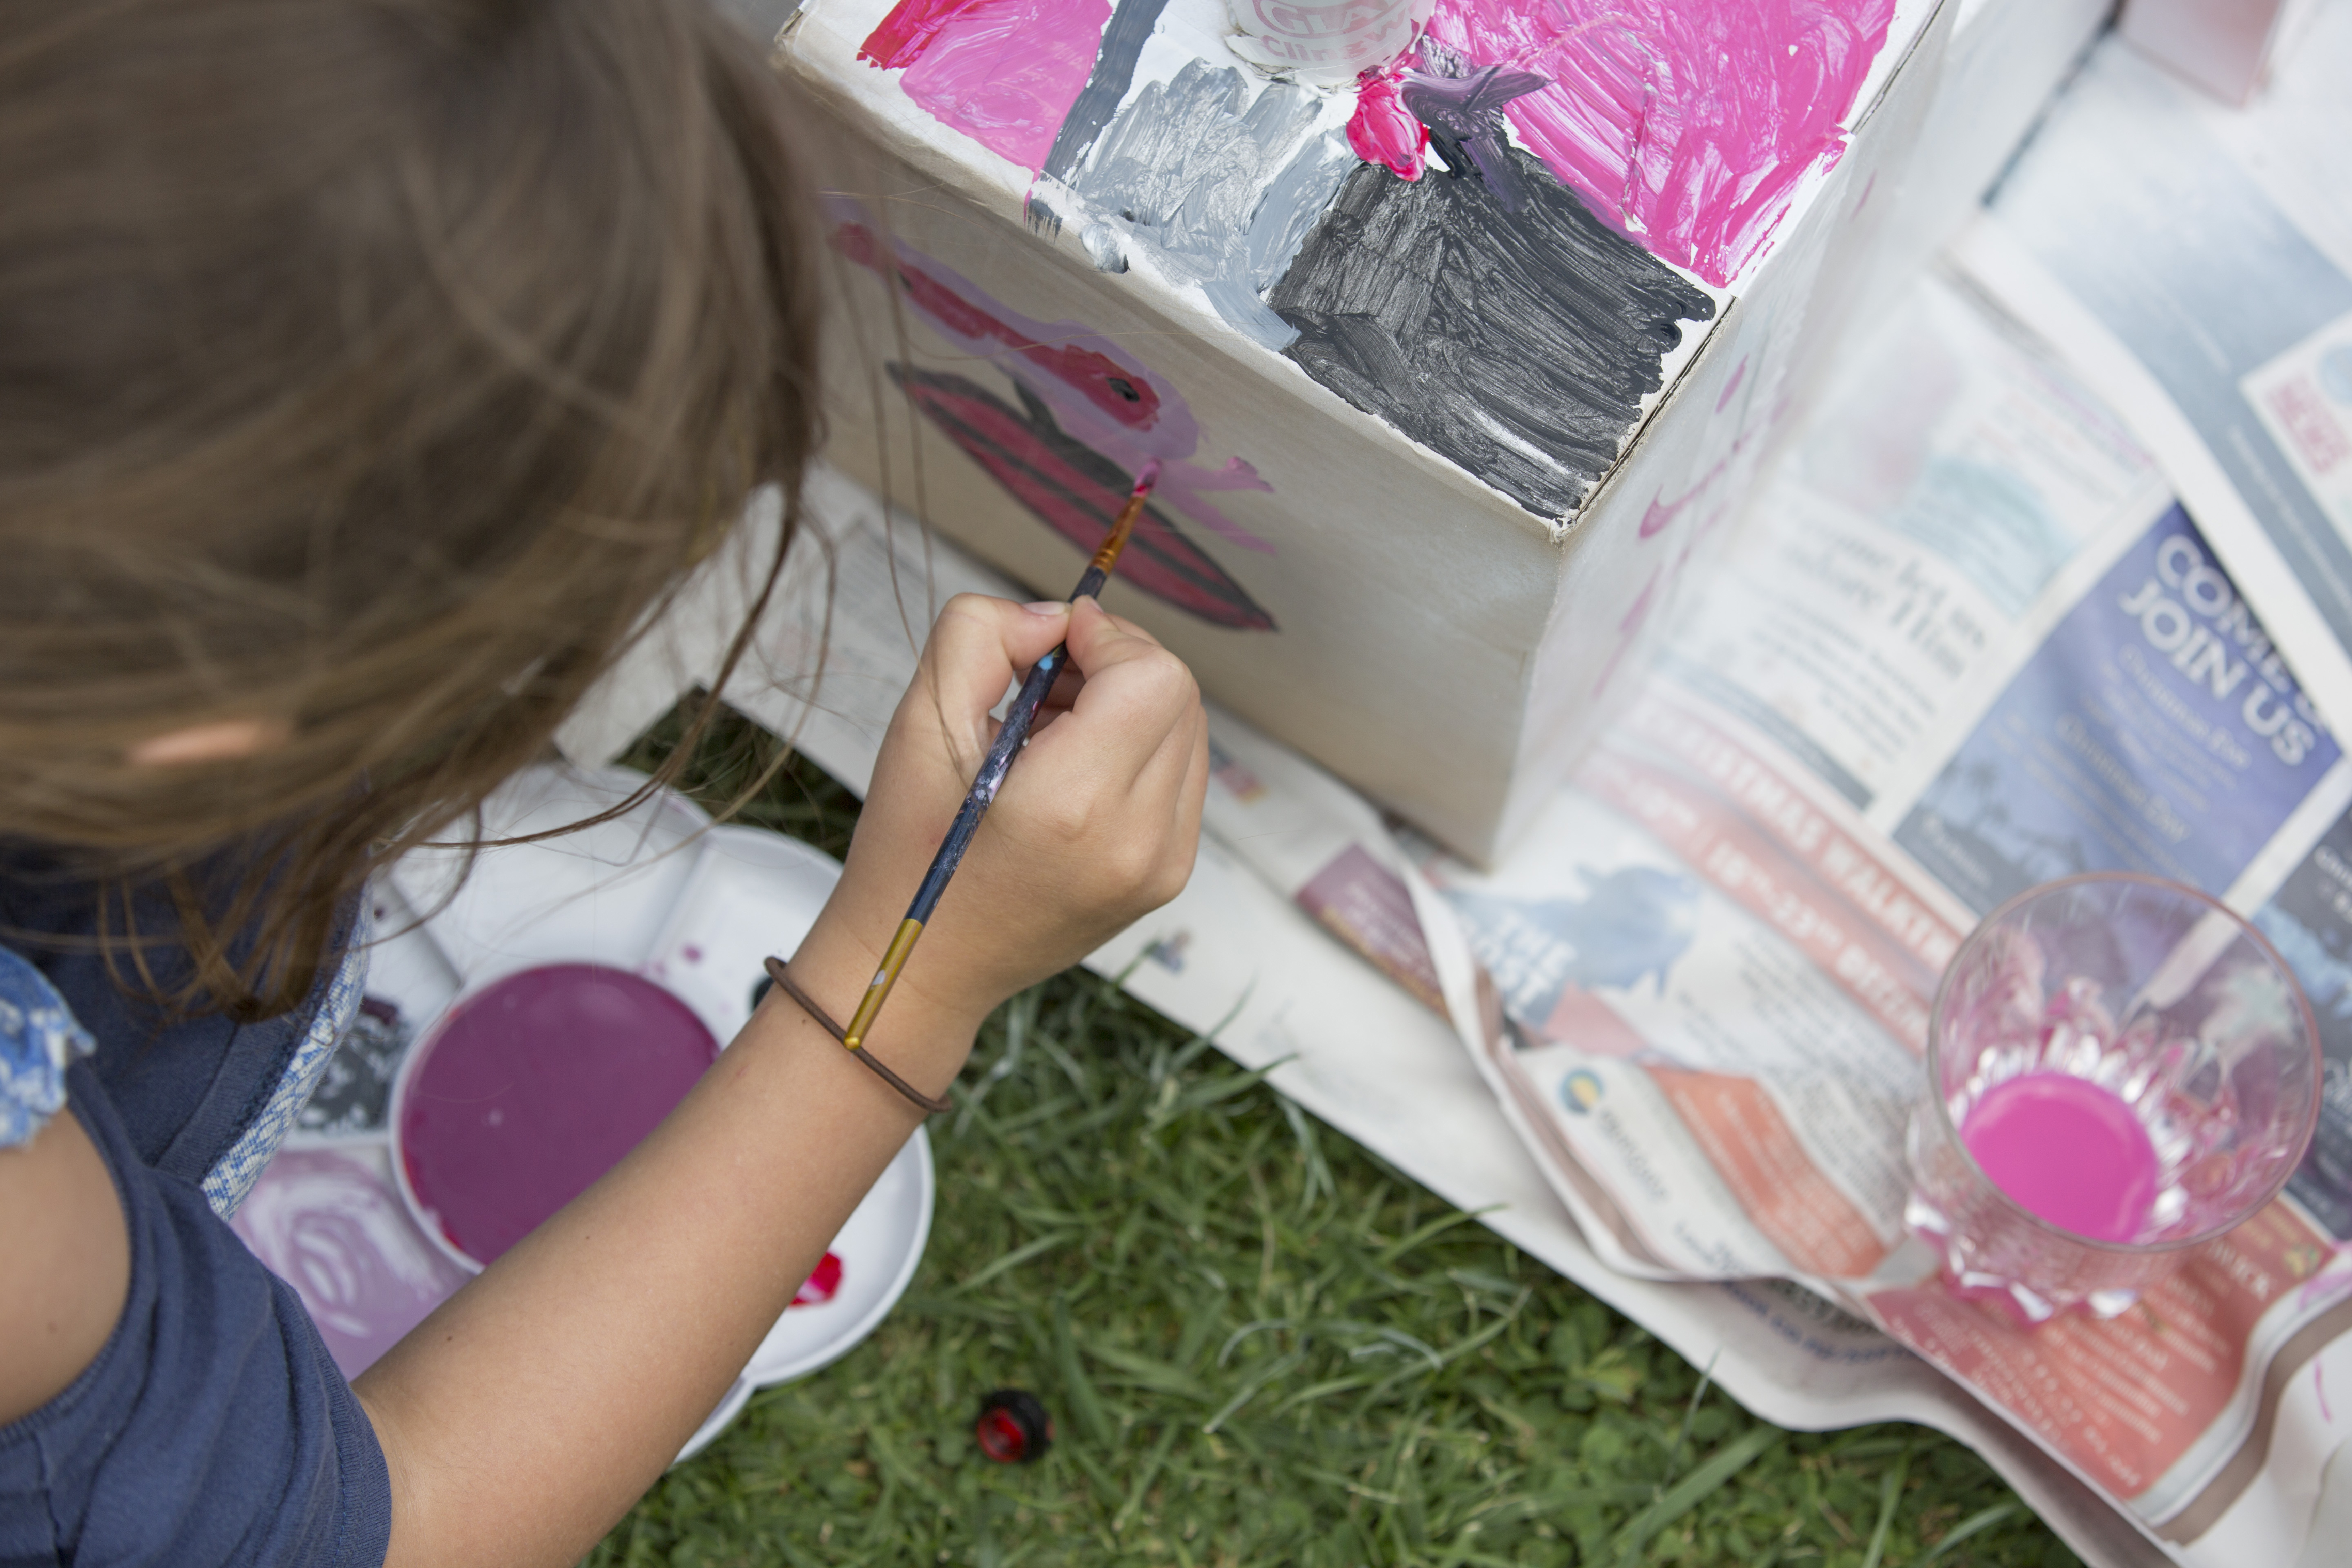
Here’s a twist on baking soda paint! Rather than making paint from scratch with baking soda, this time you’ll be adding it to acrylic craft paint you have purchased, or to latex indoor paint for larger applications.
What does baking soda do to paint? It creates a fluffier texture and a gorgeous matte finish that you can use to make a DIY terracotta vase, or to paint on glass, walls, wooden boxes, or anything you want to give a colorful, textured finish.
Ingredients & Supplies
- ½ cup ARM & HAMMER™ Baking Soda
- 3 tablespoons cold water
- 1 cup acrylic or latex paint of any color
- Small bowl
- Disposable container
- Paintbrush
Directions
- Mix the baking soda and water in a small bowl.
- Pour one cup latex or acrylic paint into a disposable container. Note: you can also divide the baking soda mixture equally into two containers of 4 oz paints.
- Slowly mix the baking soda solution into the paint, stirring well.
- Use immediately.
- Discard unused paint.
7. Accessorize with Jewelry Made from Baking Soda Clay
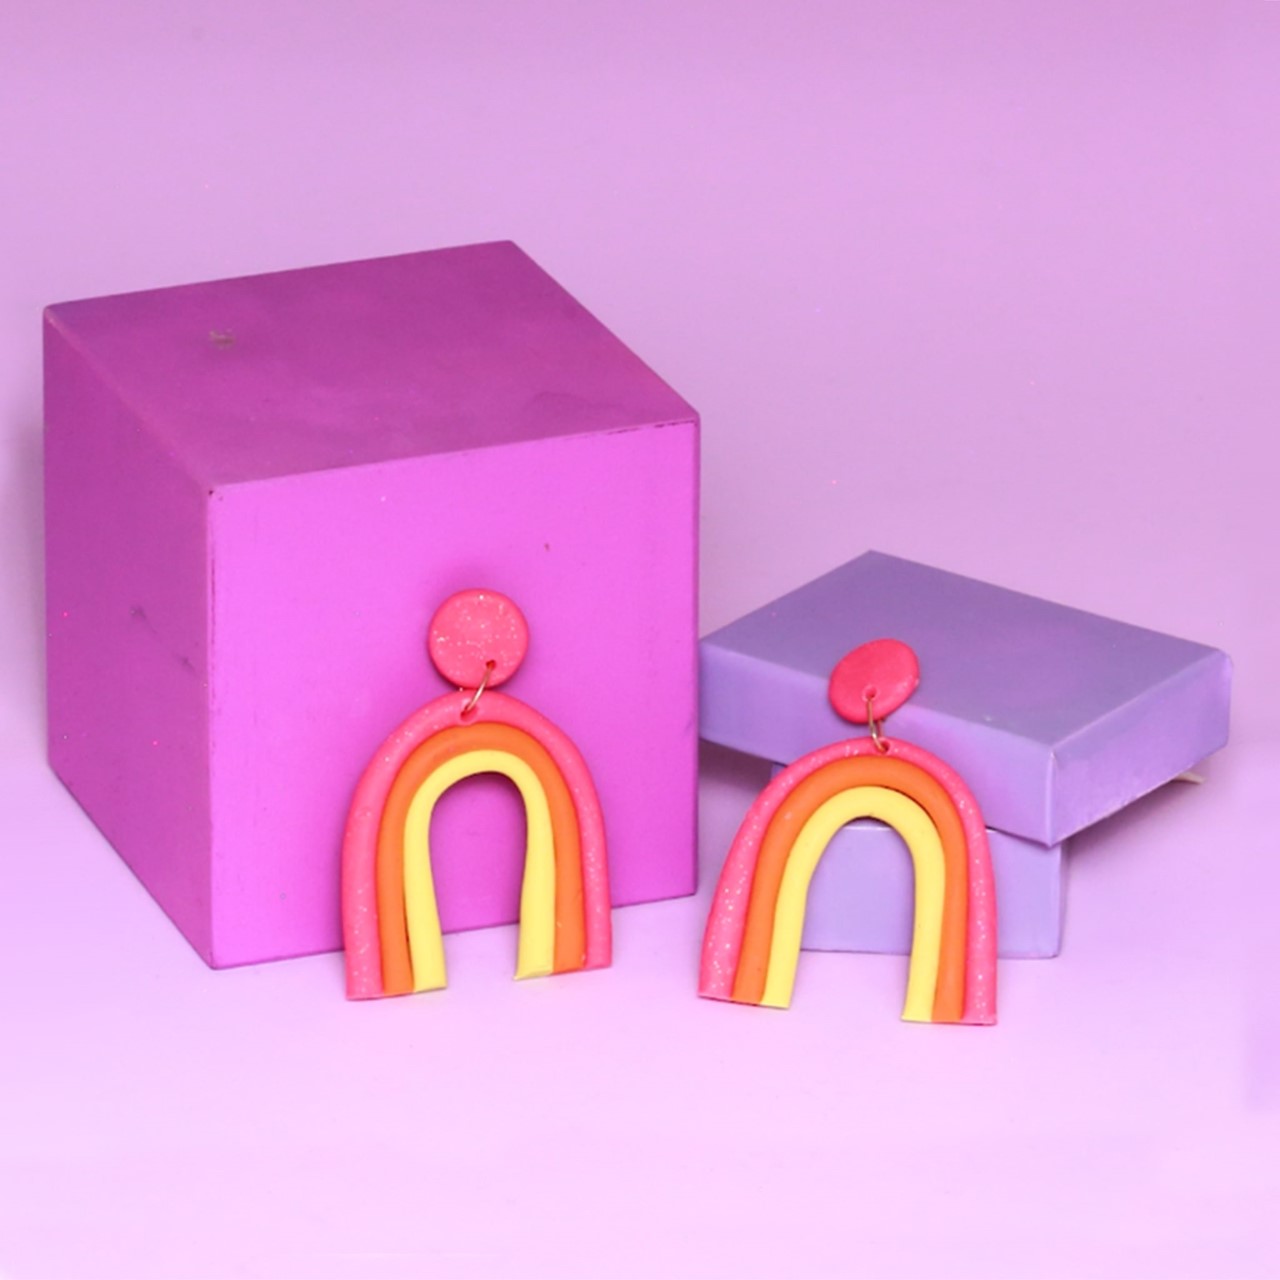
As we saw above, you can make a dough with baking soda and cornstarch that can be used to make ornaments, coasters and more. You can also combine your baking soda dough with polymer clay for a workable clay dough that is perfect for molding small items like beads and baubles.
Have fun with your kids making DIY jewelry to accessorize any outfit or to make gifts for friends and family.
Ingredients & Supplies
- 1 cup ARM & HAMMER™ Baking Soda
- ½ cup cornstarch, plus more for kneading
- Polymer clay
- ¾ cup water
- Food coloring
- Parchment paper
- Rolling pin
- Jewelry hardware (hooks or posts for earrings; clasps and string for necklaces and bracelets)
Directions
- Mix Baking Soda and cornstarch in a small saucepan. Add water and whisk until soda and starch are dissolved and the mixture is smooth.
- Cook over medium heat, stirring constantly, for about 3-5 minutes or until thickened. As you stir, scrape the bottom and sides of the saucepan to be sure all ingredients are combined. The mixture will get bubbly before it gets thicker.
- Once the mixture is thick like toothpaste, remove it from the stove. Transfer dough to a cool plate and allow it to cool to room temperature (about 30 minutes). Dough must be completely cool prior to shaping. You can speed up this process by placing it in the fridge.
- Place the room temperature dough on your work surface. Dust with cornstarch and knead the dough into a smooth ball. If it’s sticky or too wet, add more cornstarch tablespoon by tablespoon and keep kneading until it’s less sticky. It should be pliable, but not sticky-wet nor dry and crumbly.
- Combine polymer clay with your Baking Soda dough. Knead until combined.
- Divide your combined dough mixture into sections. Add desired food coloring to each section and knead until combined.
- Add more cornstarch to your work surface and roll out the dough to no less than ¼-inch thick.
- Cut out desired shapes and transfer to a baking sheet lined with parchment paper.
- You can now use this dough to make beads for any type of jewelry you want, including necklaces, bracelets or earrings.
- Example: Rainbow Earrings:
- Roll out two small balls of dough for the stud of each earring (these will sit on top of the rainbow)
- Twist two different colors of dough together to form coils
- Divide the coils in half (one for each earring)
- Shape the coils each into a rainbow and trim off any excess dough to create a uniform length.
- Using a toothpick, press holes into the top of the rainbow and the ball-shaped studs.
- Preheat oven to 200°F.
- Place all jewelry pieces on a sheet of parchment paper and cover with another sheet of parchment paper. Bake for 20-30 minutes, checking often to avoid discoloration and browning. The time will depend on the thickness of your jewelry.
- When jewelry is cooked, take out immediately and submerge in ice water to stop the cooking process.
- For earrings, attach earring hooks or posts to jewelry pieces using pliers. For necklaces or bracelets, string beads onto jewelry string and tie to clasps.
More Fun Family Activities with Baking Soda
Want to do more fun things with your kids and baking soda? Check out these other ideas from ARM & HAMMER™.